Spring Chicken Panini Easy
Spring Chicken Panini Easy: A Quick and Flavorful Delight
Can a Sandwich Be Both Healthy and Delicious?
Have you ever wondered if it’s possible to enjoy a sandwich that’s both healthy and packed with flavor? The answer is yes, and today we’re diving into the ultimate recipe that proves it: the Spring Chicken Panini. This dish combines fresh ingredients, savory chicken, and melty cheese for a meal that feels indulgent but is surprisingly good for you. Whether you’re looking for a quick lunch or something to impress your family, this panini has got you covered. Ready to get started?
Overview: Why You’ll Love This Recipe
What makes the Spring Chicken Panini special is its simplicity and versatility. It’s perfect for busy weekdays or lazy weekends when you want something hearty yet light. Here’s what you need to know:
- Time Requirement: Just 20 minutes from start to finish.
- Difficulty Level: Beginner-friendly—no fancy techniques required!
- Health Benefits: Packed with lean protein, fresh veggies, and whole grains, this recipe supports a balanced diet without sacrificing taste.
This panini is more than just a sandwich; it’s a celebration of spring flavors in every bite. Let’s dive into the details!
Table of Contents
timing for making the Spring Chicken Panini:
- Prep Time: 10 minutes
- Cook Time: 15 minutes
- Total Time: 25 minutes
Ingredients: The Stars of Your Panini
To make a Chicken Panini, you’ll need these key components:
2 boneless, skinless chicken breasts
1 tablespoon olive oil
½ teaspoon salt
½ teaspoon black pepper
½ teaspoon garlic powder
1 teaspoon Italian seasoning
4 slices ciabatta or sourdough bread
2 tablespoons pesto sauce
½ cup baby spinach leaves
½ cup roasted red bell peppers, sliced
½ cup shredded mozzarella or sliced fresh mozzarella
2 tablespoons butter (for grilling)
Substitutions & Variations:
- Swap sourdough for gluten-free bread if needed.
- Add bacon or roasted red peppers for a smoky twist.
- Use hummus instead of mayo for a plant-based option.
These ingredients come together effortlessly to create a mouthwatering masterpiece.
Step-by-Step Instructions: How to Make Your Panini
Let’s walk through the process step by step so you can whip up this Chicken Panini like a pro.
- Prepare Your Ingredients:
- Shred cooked chicken and set aside.
- Wash and slice fresh veggies like tomatoes and spinach.
- Grate cheeses if not pre-shredded.
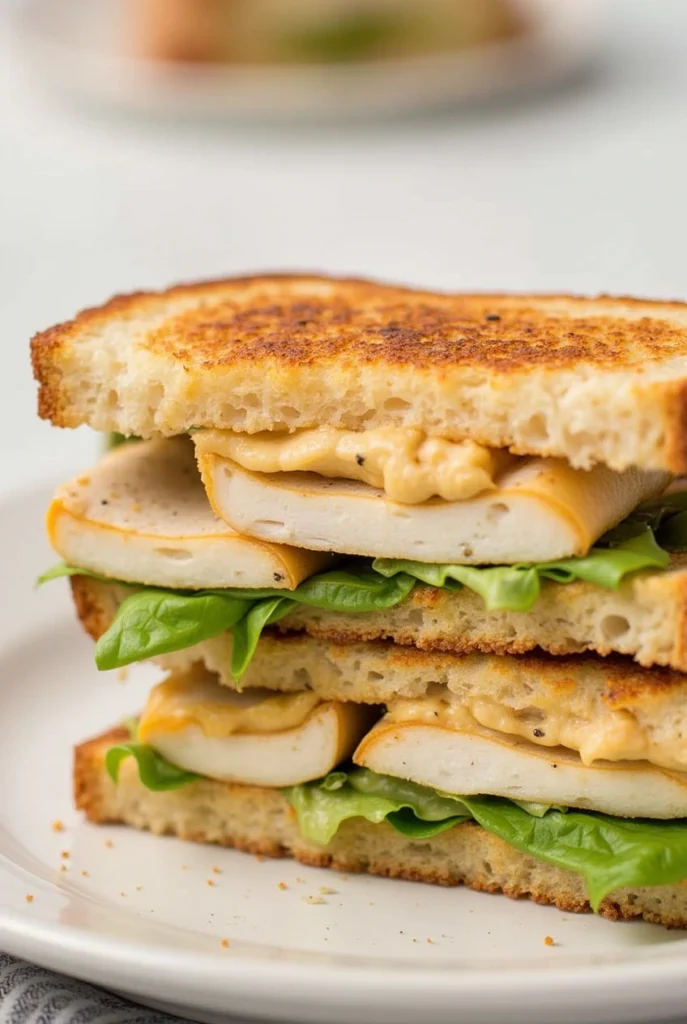
- Toast the Bread:
- Lightly butter one side of each bread slice. This helps achieve a golden crust when grilled.
- Heat a skillet or panini press over medium heat. If using a skillet, place a heavy spatula or another pan on top to press the sandwich while cooking.
- Assemble the Base:
- Spread your chosen condiment (mayo, pesto, etc.) evenly on the unbuttered side of the bread.
- Layer shredded chicken, followed by cheese, and then fresh veggies.
- Cook the Panini:
- Place the assembled sandwich in the skillet or panini maker.
- Cook for 3–5 minutes per side until the bread is crispy and the cheese melts beautifully.
Tips for Success:
- Don’t overload the sandwich—too many ingredients can make it soggy.
- Use a meat thermometer to ensure chicken leftovers are heated to 165°F (74°C) for safety.
- For extra crispiness, brush olive oil on the outside of the bread before grilling.
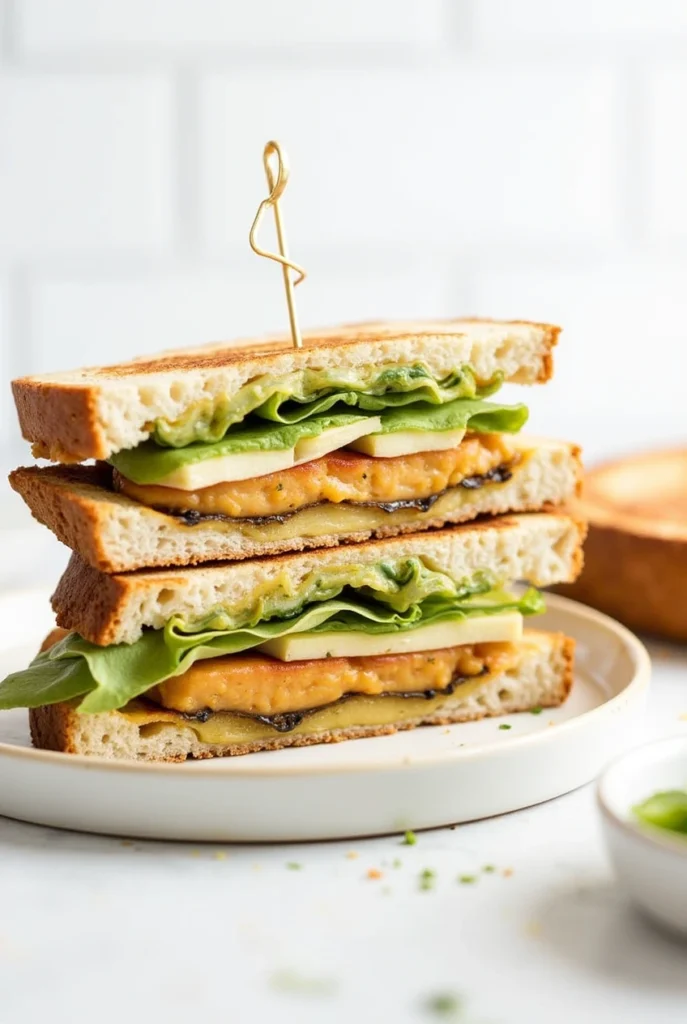
Assembly: Building Your Perfect Panini
The secret to a great Chicken Panini lies in the layering. Follow these steps for maximum flavor and texture:
- Start with condiments spread evenly across the bread.
- Add shredded chicken as the base layer—it provides structure.
- Sprinkle cheese next so it melts directly onto the warm chicken.
- Top with fresh veggies for a pop of color and crunch.
- Finish with the second slice of bread, buttered side out.
For an Instagram-worthy presentation, cut the panini diagonally and garnish with a sprig of parsley or a drizzle of balsamic glaze.
Storage and Make-Ahead Tips
Life gets busy, but this Chicken Panini can adapt to your schedule:
- Storing Components: Keep shredded chicken, sliced veggies, and grated cheese in separate containers in the fridge for up to 3 days.
- Reheating Leftovers: Reheat individual portions in a skillet or toaster oven to retain crispiness. Avoid microwaving, which can make the bread soggy.
- Freezing Option: Freeze uncooked sandwiches wrapped tightly in foil. When ready to eat, simply thaw and grill.
With these tips, you’ll always have a delicious meal ready to go.
Recipe Variations: Get Creative!
Why stick to one version when you can experiment? Here are some fun twists on the classic Chicken Panini:
- Mediterranean Style: Swap spinach for kale, add sun-dried tomatoes, and use feta cheese.
- Spicy Kick: Add jalapeños or red pepper flakes for heat lovers.
- Veggie Lover’s Dream: Double down on veggies like zucchini, bell peppers, and mushrooms.
- Breakfast Edition: Include scrambled eggs and avocado for a morning treat.
Feel free to mix and match ingredients to suit your mood or dietary needs.
Conclusion: Time to Get Cooking!
There you have it—the ultimate guide to making a Spring Chicken Panini that’s easy, healthy, and utterly delicious. With its quick prep time, simple steps, and endless customization options, this recipe is sure to become a staple in your kitchen. So grab your ingredients, fire up the skillet, and let your creativity shine. Happy cooking!
FAQs: Your Burning Questions Answered
- Can I use store-bought rotisserie chicken?
Absolutely! Rotisserie chicken saves time and pairs perfectly with this recipe. - Is this recipe kid-friendly?
Yes! Kids love the cheesy goodness and customizable toppings. Just skip spicy additions if they’re sensitive to heat. - How do I make this recipe vegetarian?
Replace chicken with grilled portobello mushrooms or tofu for a plant-based alternative. - What are the health benefits of a Chicken Panini?
This dish is rich in lean protein, vitamins from fresh veggies, and complex carbs from whole-grain bread. It’s a balanced meal in one sandwich! - Can I make this ahead for meal prep?
Definitely! Assemble the sandwiches, wrap them tightly, and refrigerate or freeze for later use.
Now that you’re armed with all the info, it’s time to try this recipe yourself. Enjoy!
CRAVING MORE RECIPES
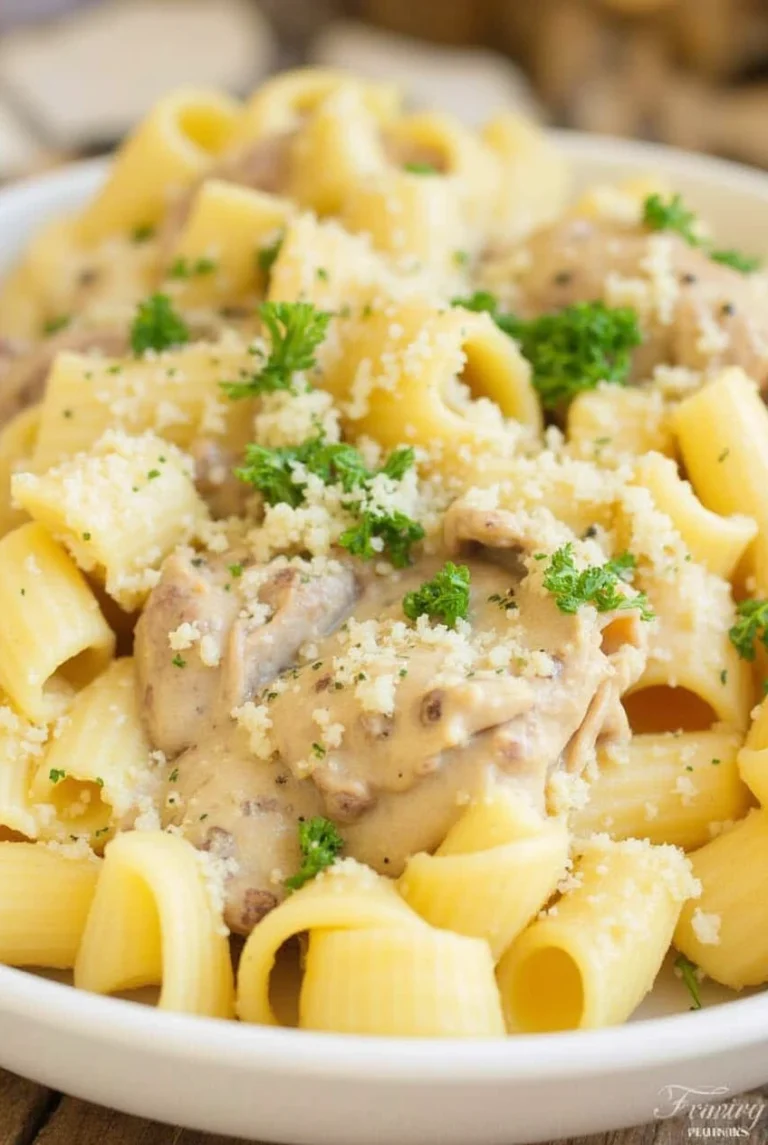
Chicken Pasta Recipe Easy
Bourbon Chicken Recipe
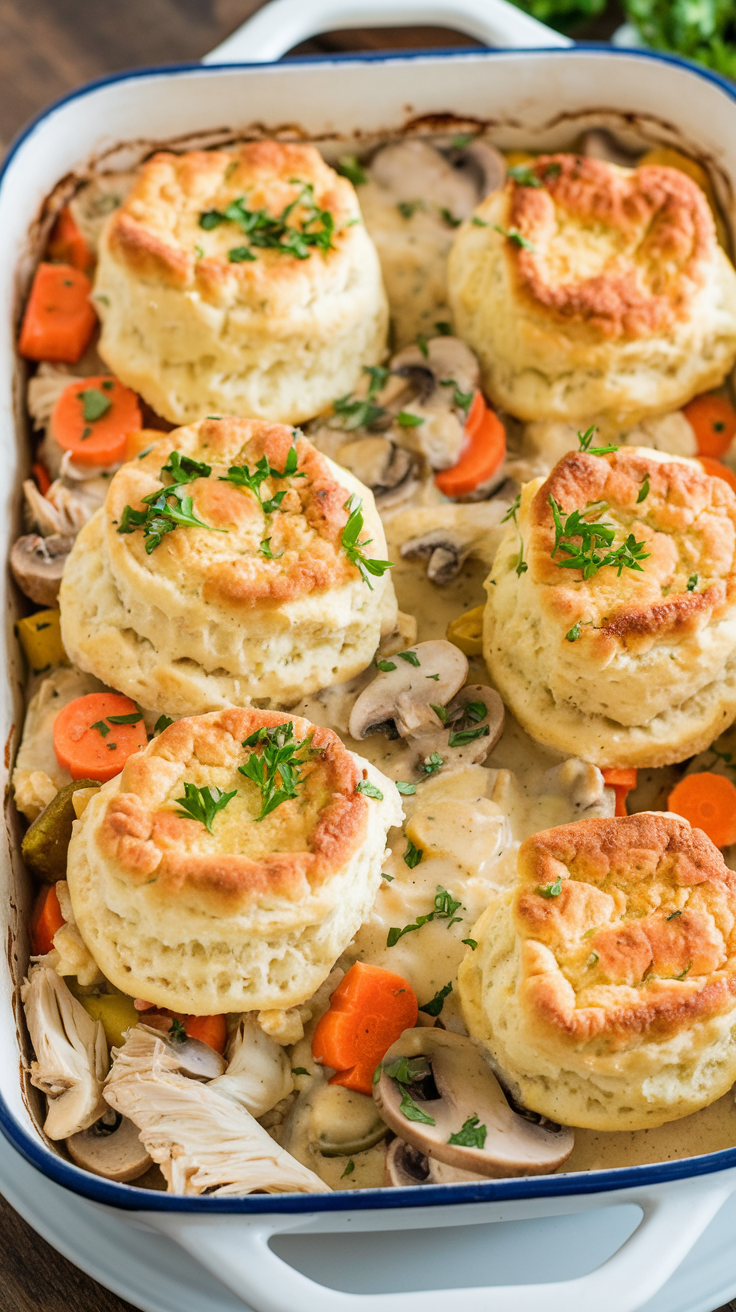
Chicken Bubble Biscuit Bake Casserole Easy Recipe
Creamy Garlic Chicken Thighs: A Comfort Food Classic
Did You Try Our Recipe?
There are no reviews yet. Be the first one to write one.