Mini Cheeseburger Bombs: 7 Tips to Perfect Your Game
Have You Ever Wondered What Makes a Mini Cheeseburger Bomb So Irresistible?
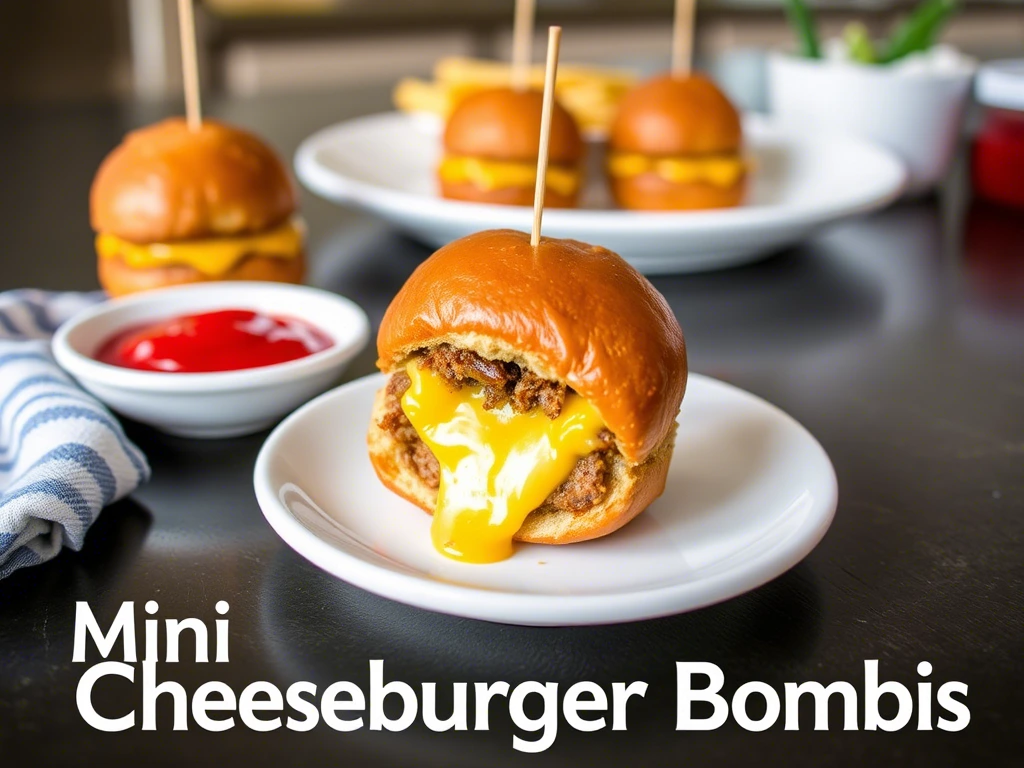
Imagine this: you’re at a party, and there’s a plate of mini cheeseburger bombs sitting right in front of you. They look so good that you can’t resist grabbing one—or two! But have you ever wondered why these little bites are so irresistible? Is it the perfect blend of flavors or the way they’re made? Today, we’ll uncover the secrets behind making Mini Cheeseburger Bombs that will leave your guests begging for more .

Table of Contents
Overview: Why This Recipe Stands Out
Mini Cheeseburger Bombs are not just any appetizer; they’re a celebration of flavor packed into bite-sized perfection. Preparing them takes about 30 minutes from start to finish, with most of that time spent on preparation rather than cooking. The difficulty level is beginner-friendly, making it an ideal choice for anyone looking to impress without too much hassle. Plus, they’re versatile enough to suit various dietary preferences when adjusted accordingly.
Essential Ingredients
To create these delicious morsels, you’ll need some key ingredients:
- Ground Beef: Forms the heart of the dish, providing protein and rich taste.
- Bacon: Adds smoky goodness and extra crunch.
- Onions & Garlic: Enhance flavor profiles with their aromatic properties.
- Ketchup & Mustard: Provide tangy sweetness that complements savory elements perfectly.
- Cheddar Cheese: Melts beautifully inside each bomb for gooey goodness.
- Biscuit Dough: Acts as both wrapper and base, holding everything together while adding texture.
Substitutions and Variations
Feel free to experiment based on personal preference or dietary needs:
- For vegetarians, replace ground beef with lentils or mushrooms.
- Gluten-free options include using almond flour-based dough instead of traditional biscuits.
- Customize sauces by incorporating BBQ sauce or hot sauce if desired.
Step-by-Step Instructions
Preparation Phase
- Cooking Bacon : Begin by frying up those crispy strips until golden brown then chop them finely .
- Sautéing Beef & Veggies : In another pan over medium heat, cook ground beef alongside chopped onions until fully cooked through 10. Remember to drain off any excess fat before proceeding further.
- Mixing Sauce : Combine ketchup, mustard, along with other seasonings like salt, pepper, garlic powder, etc., creating a flavorful mixture that ties all components together nicely .
Assembly Process
Once everything has been prepared individually, now comes the fun part – putting it all together!
- Forming Patties : Take portions of your cooked beef mixture (approximately 1 tablespoon per piece), flatten slightly between palms forming patties large enough to enclose cheese cubes comfortably within them.
- Encasing Cheese : Place small cheddar cheese pieces centrally onto each patty followed by sealing edges securely ensuring no leaks occur during baking process .
- Wrapping with Dough : Flatten biscuit rounds evenly across work surface then position assembled meat-cheese bundles centrally upon flattened discs. Gently pull sides upward around contents pressing firmly closed once again .
Presentation Tips
For presentation purposes consider arranging finished products neatly side-by-side on serving trays sprinkled lightly with sesame seeds or poppy seeds prior to baking which adds visual appeal as well enhancing overall aesthetic value considerably.
Storage And Make-Ahead Tips
These delightful treats can easily be stored either refrigerated or frozen depending upon intended usage timeframe:
- Refrigeration allows keeping unbaked items ready-to-go for up to 2 days whereas baked versions maintain quality similarly provided they’re tightly sealed preventing moisture exposure .
- Freezing extends shelf life significantly enabling prepping ahead weeks beforehand simply requiring thawing overnight inside fridge prior reheating via oven set at 350°F approximately 10-15 minutes until warmed throughout adequately .
Recipe Variations
Don’t limit yourself to just one type of Mini Cheeseburger Bomb! Here are some creative alternatives:
- Add jalapeños for a spicy kick.
- Use turkey bacon for a leaner option.
- Experiment with different cheeses such as pepper jack or gouda.
Conclusion
Now that you know how simple yet rewarding crafting Mini Cheeseburger Bombs truly is, don’t hesitate experimenting further tailoring recipes according specific tastes desires ensuring maximum enjoyment satisfaction every single occasion served proudly amongst loved ones alike.
FAQs
Q: Are Mini Cheeseburger Bombs healthy? A: While indulgent, choosing lean meats and whole-grain doughs improves nutritional profile somewhat though moderation key enjoying occasional treat guilt-free .
Q: Can I prepare these ahead of time? A: Absolutely yes! Refer above section detailing storage methods effectively planning events stress-free manner possible .
Q: How long do leftovers last? A: When properly stored within refrigerator conditions, leftovers generally remain fresh edible consuming within three days post-preparation ideally consumed sooner fresher taste experience ensured consistently
Did You Try Our Recipe?
There are no reviews yet. Be the first one to write one.